
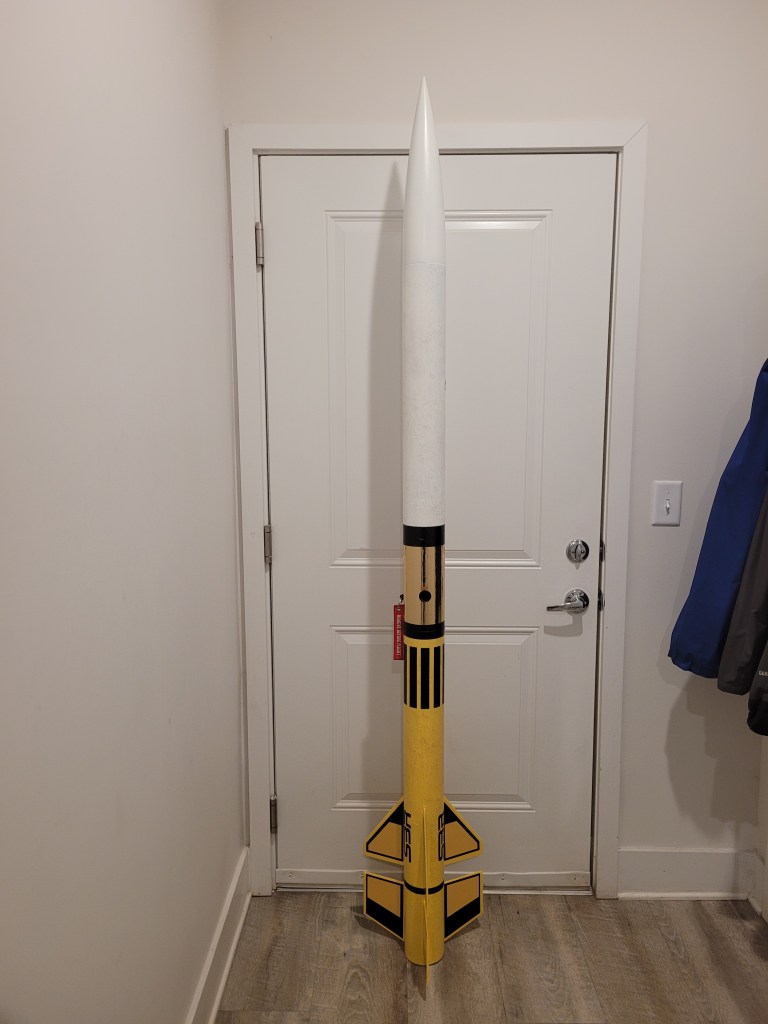
The SBR Thor 4″ kit was designed by Scott Binder. The kit features laser-cut parts, convenient integral electronics and payload bays, and the CAM1 Camera/Altimeter Mount. The Thor also features a 54mm motor mount for flying larger, high-powered motors.
Features: laser-cut 1/4″ aircraft quality plywood fins, high strength airframe tube and couplers, centering rings, bulkhead plates, high-quality hardware package, 54mm motor tube, plastic nosecone, fin alignment guide, digitally-printed vinyl decals and body wrap, 50″ Top Flight recovery parachute and 29mm and 38mm motor adaptors.
DIAMETER: 4.0″
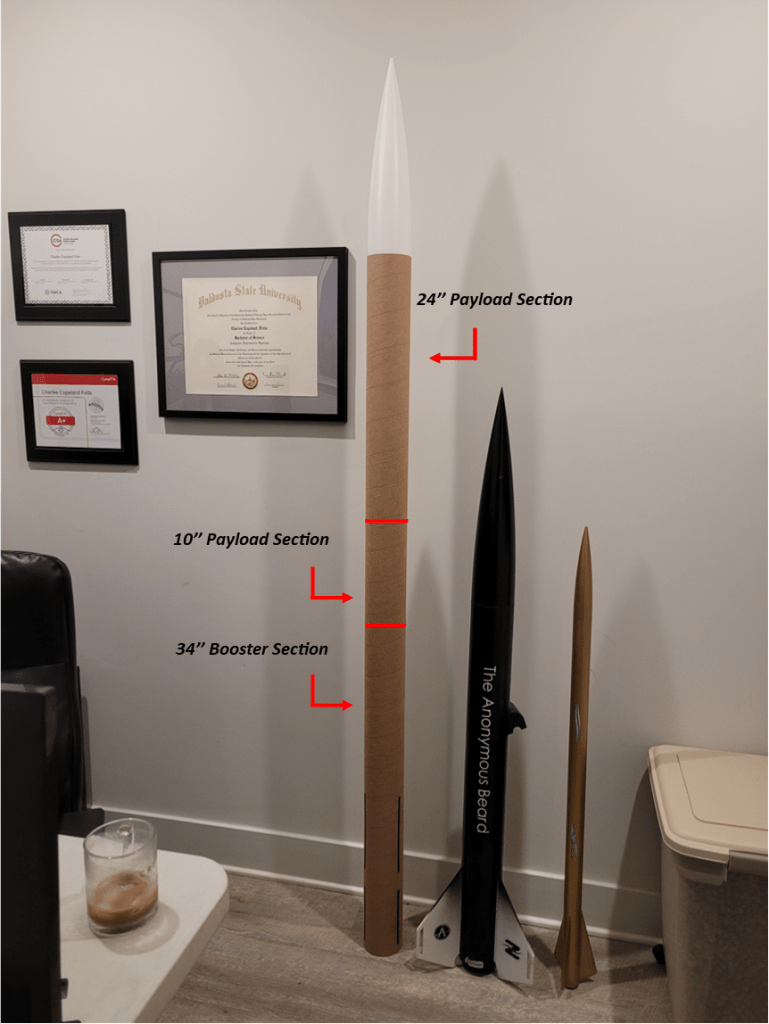
LENGTH: 85″
MOTOR MOUNT: 54mm
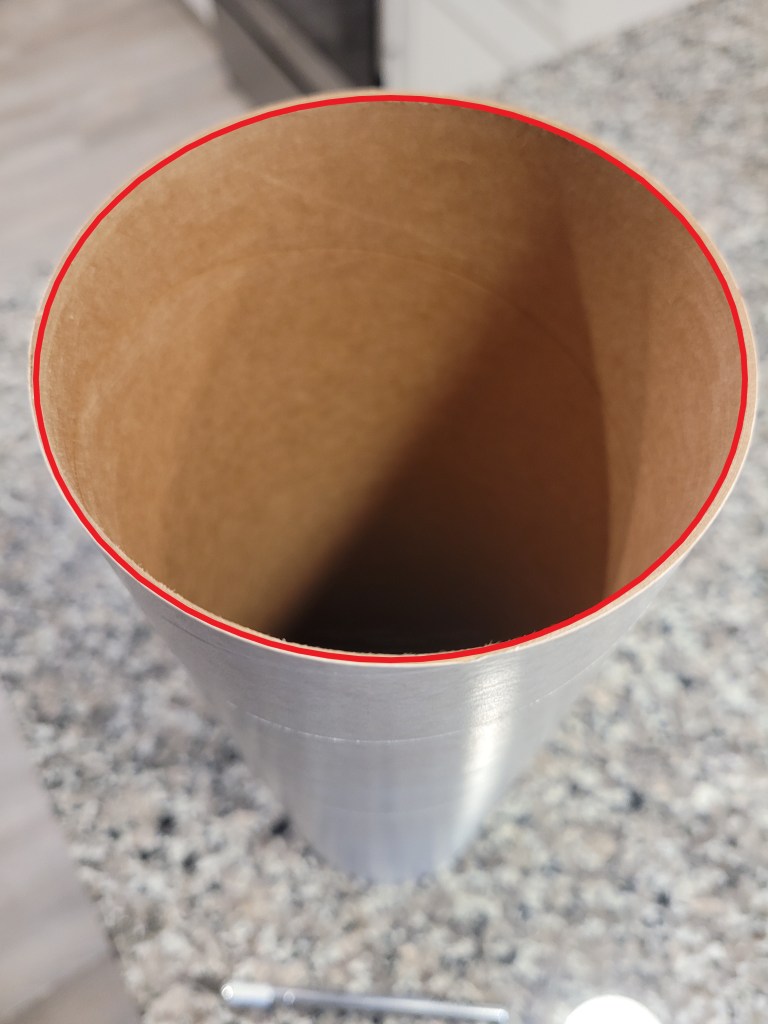
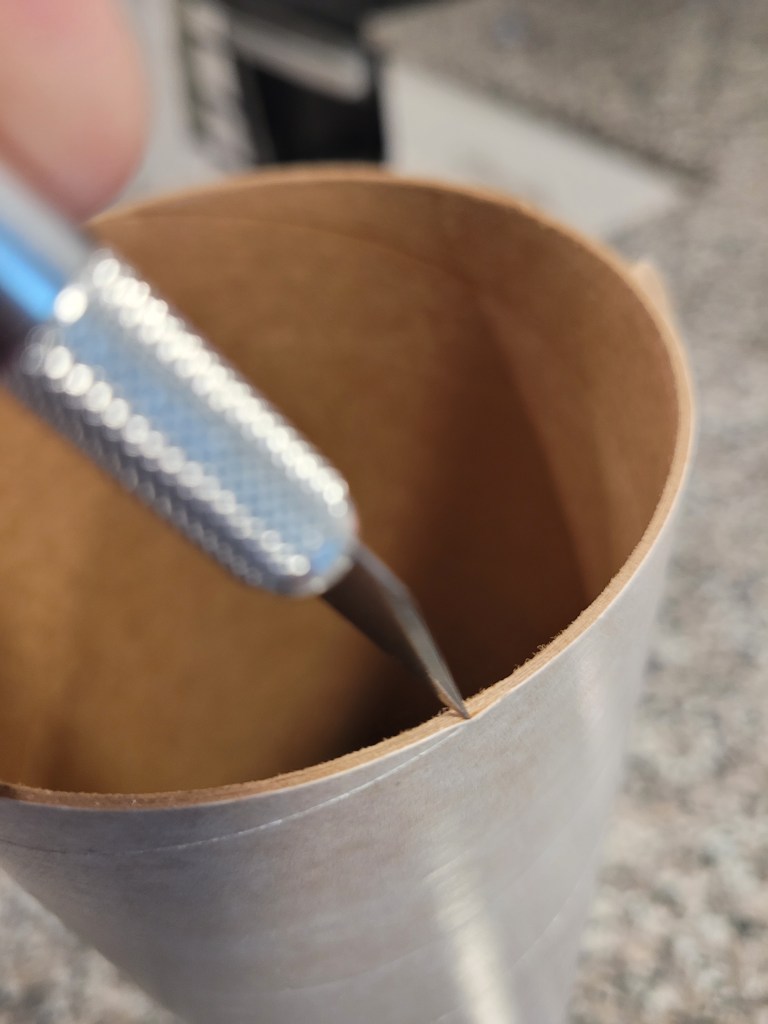
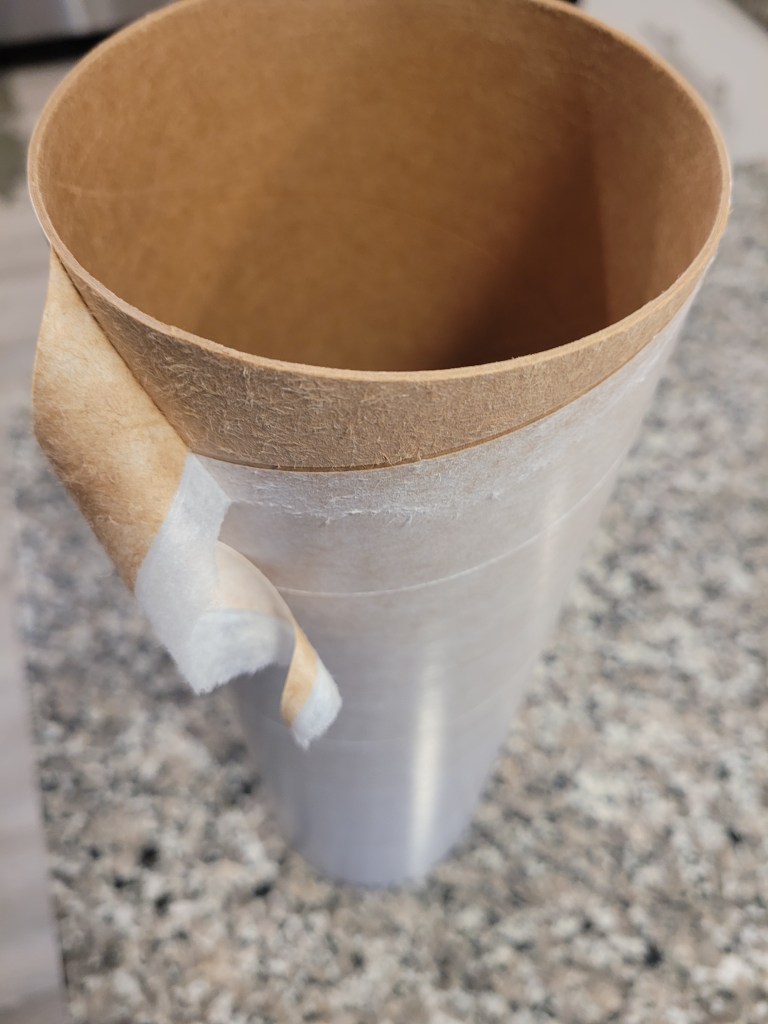
I began the build by removing the glossy coating on the airframe tubes. This is easy to do, I used my Xacto knife to separate the start of the spiral at one end of the tube and then peeled downward. I am going to use braided fiberglass biaxial sleeves to strengthen the airframe and removing this glassine layer will allow the resin to fully adhere to the tubes when glassing.

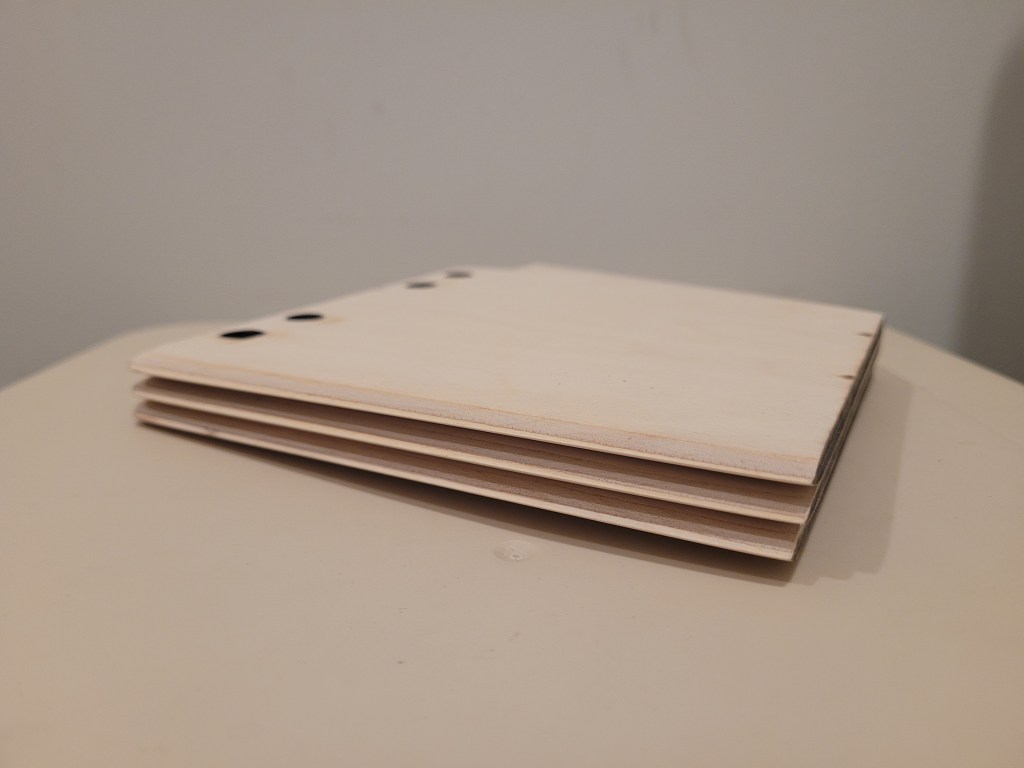
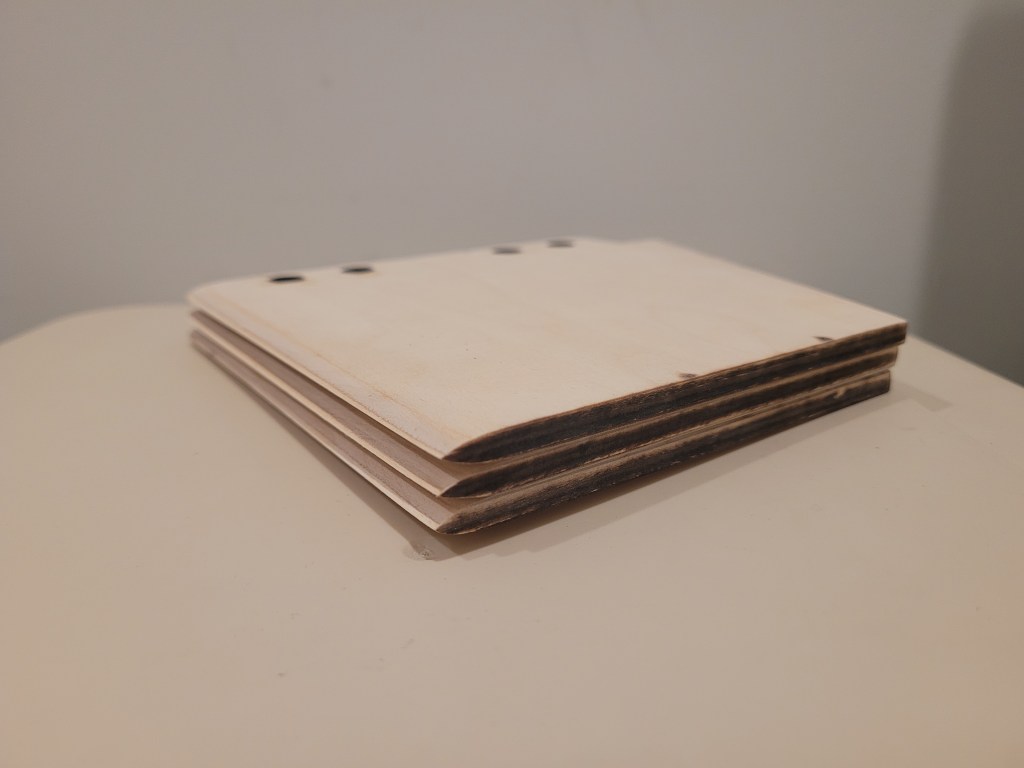
Next I airfoiled the leading edge of the forward fins. In total I sanded off about 10 grams of material from each fin, resulting in the fins weighing approximately 65 grams each.

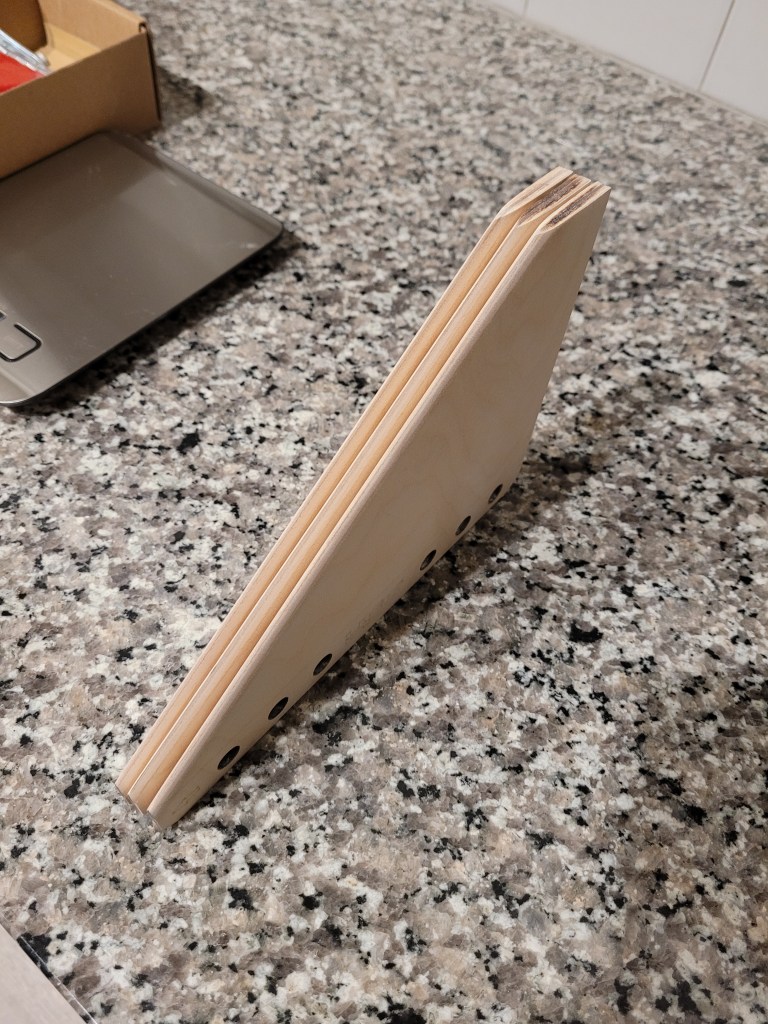
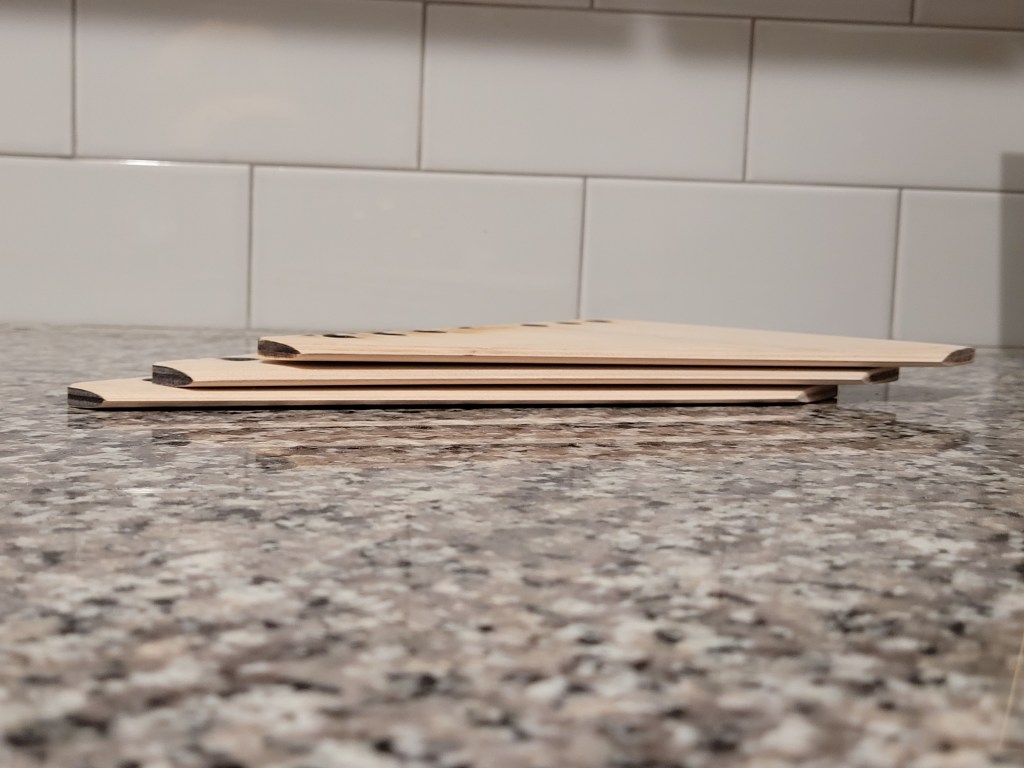
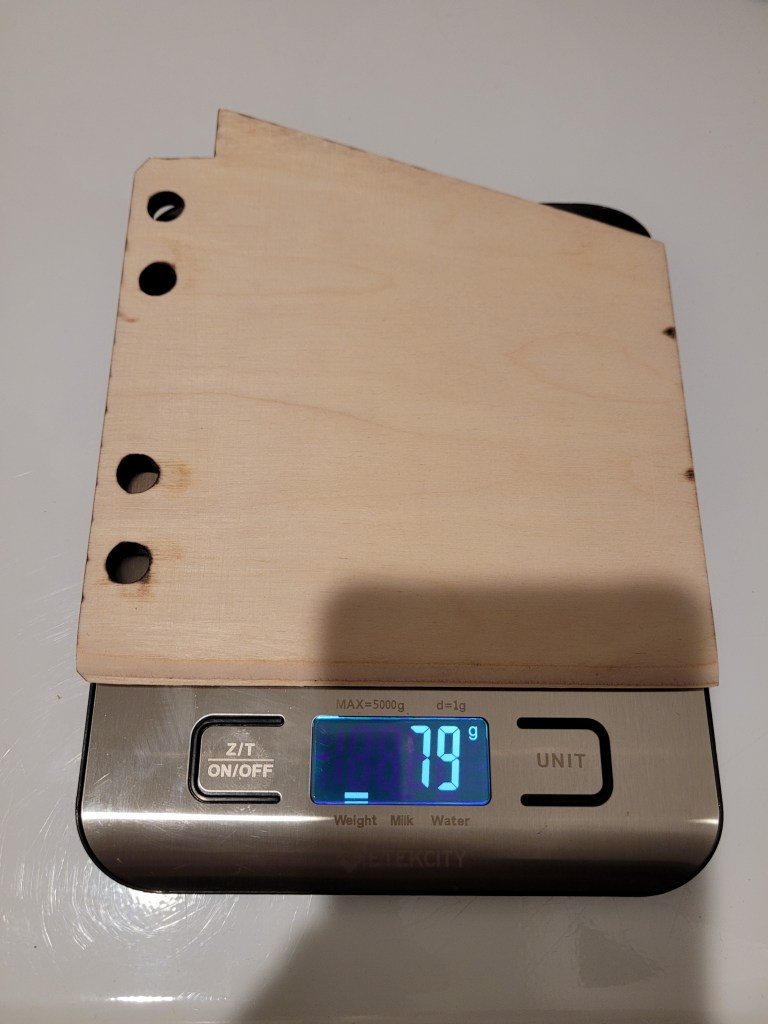
I airfoiled the aft fins the same as the forward fins, sanding until each fin weighs approximately 79 grams – c’mon we’re going for performance here as well.
I then built the CAM1 camera/altimeter mount. I assembled the plywood pieces, following the instructions, using thick CA (superglue) and 5-minute epoxy. Once the epoxy cured, I mixed a small batch of 5-minute epoxy and thinned it out using a small amount of rubbing alcohol (about a cap full). I then coated every surface of the mount to seal the wood. After a few coats of primer I painted the mount using a dark metallic spray paint.
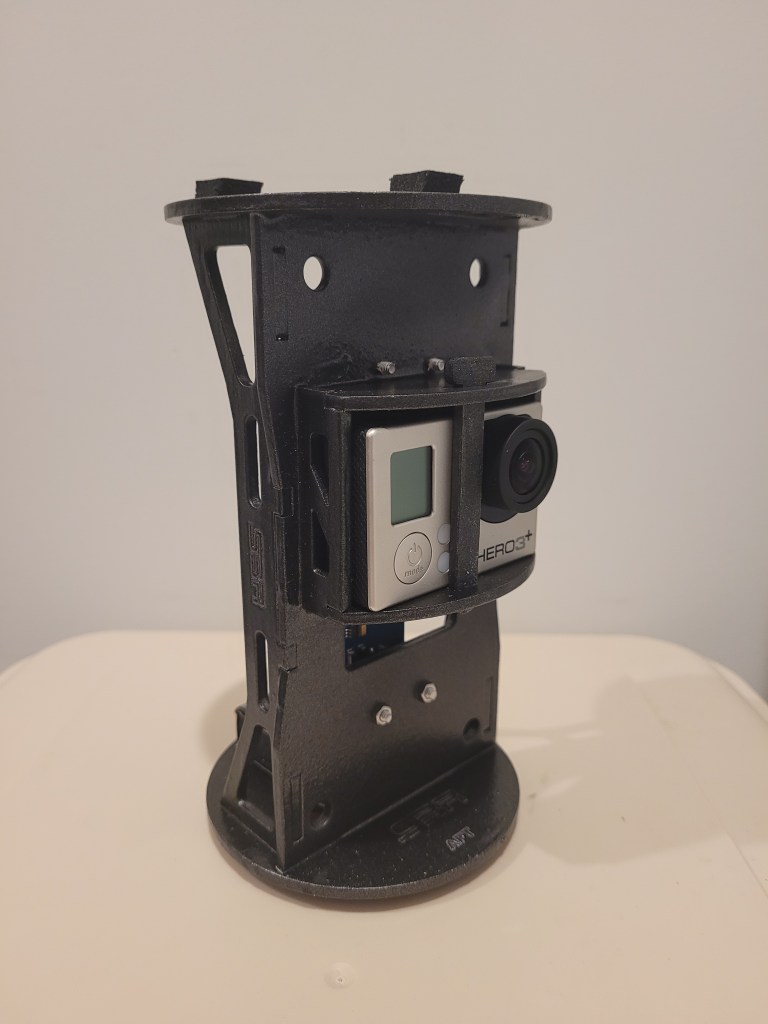
To finish the CAM1 mount, I installed a GoPro Hero 3+, RRC3 Sport Altimeter (supports dual deployment and flight telemetry logging), 9V battery, and the foam dampeners. I shortened and added some heat shrink tubing to the battery connector to keep the wiring as clean as possible. I also mounted the altimeter on posts to reduce vibration and get the best air sampling possible while in flight.

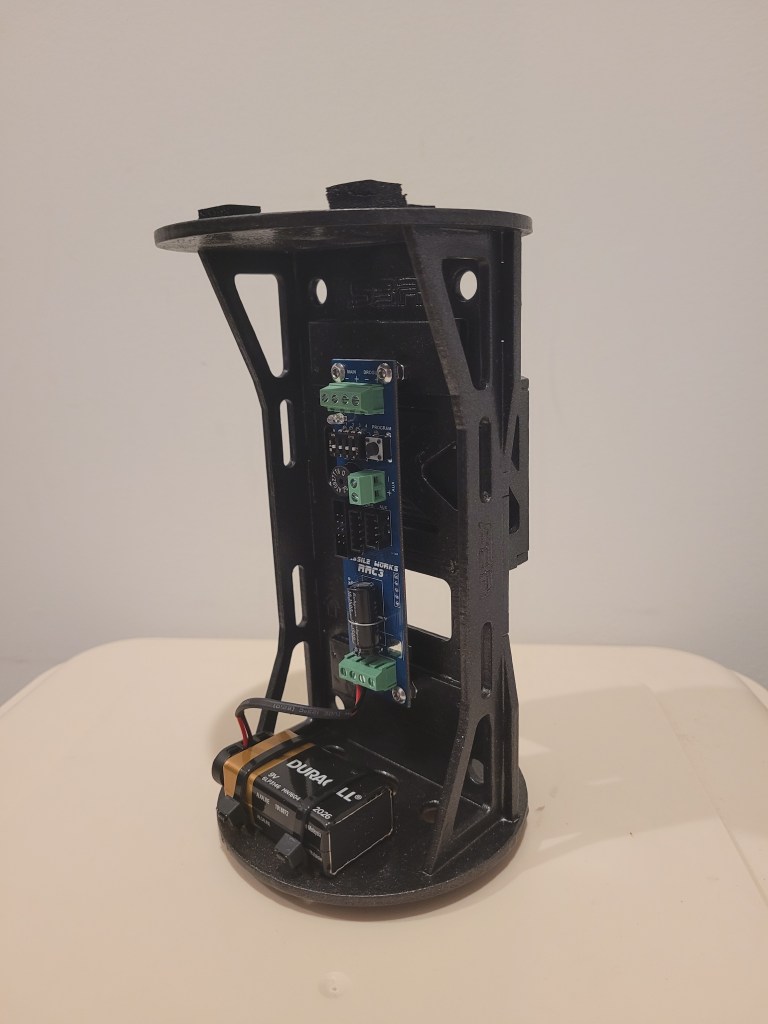
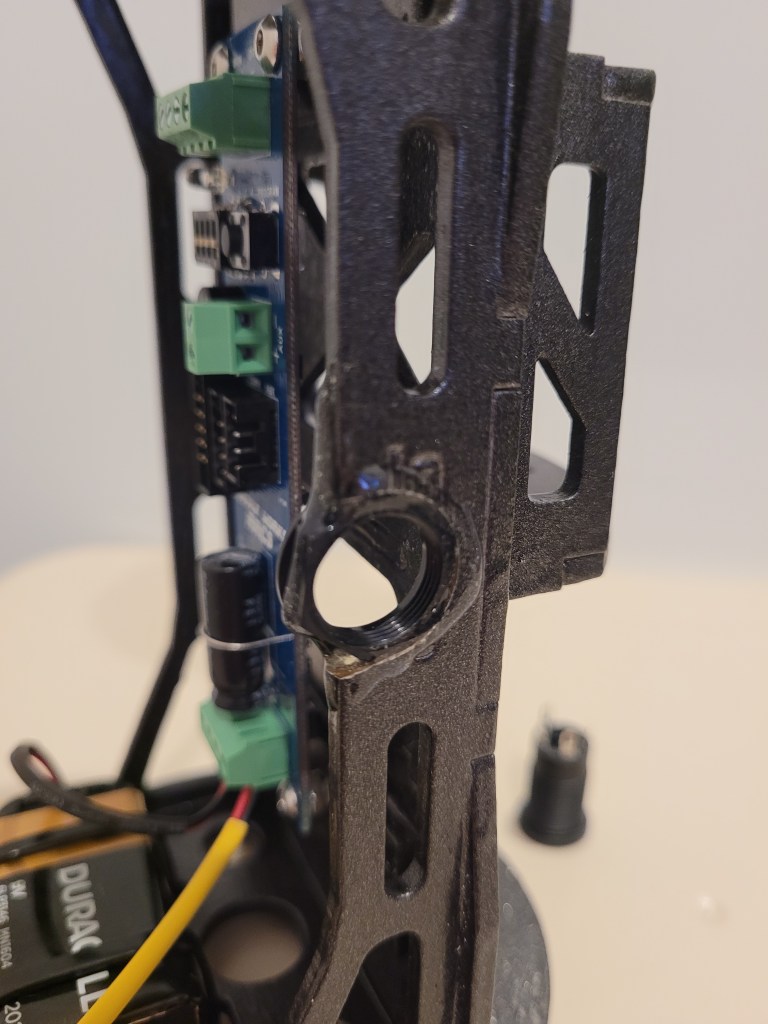
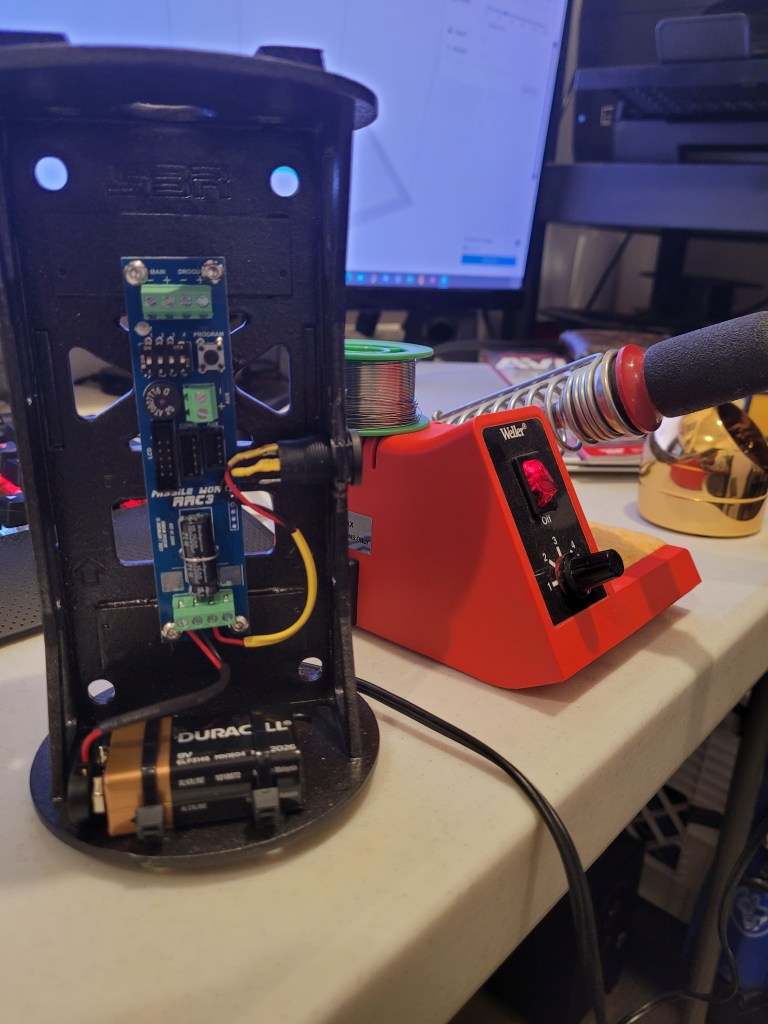
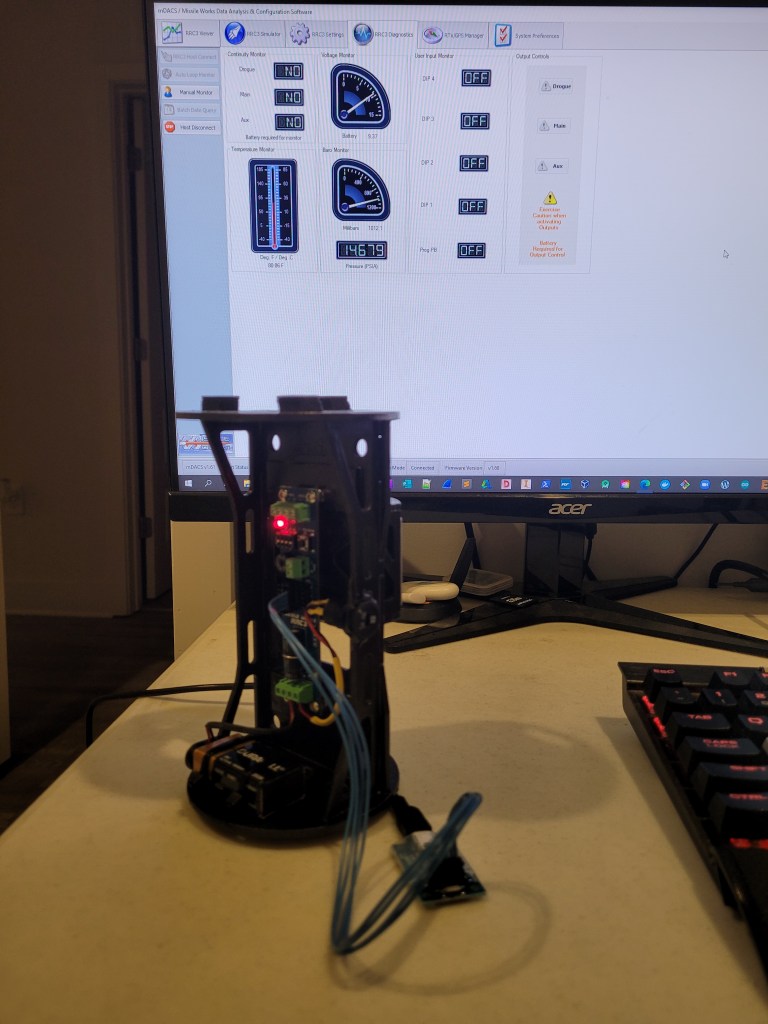
I used a Dremel to cut a notch for the rotary switch locknut in the side of the mount and epoxied the locknut in place. I then resurrected the trusty Weller iron and soldered on the two switch leads to the rotary switch and assembled everything in place. Using the RRC3 USB dongle, I powered up the unit for the first time. After writing some custom configurations to the altimeter, the CAM1 payload mount is complete and ready for the field!
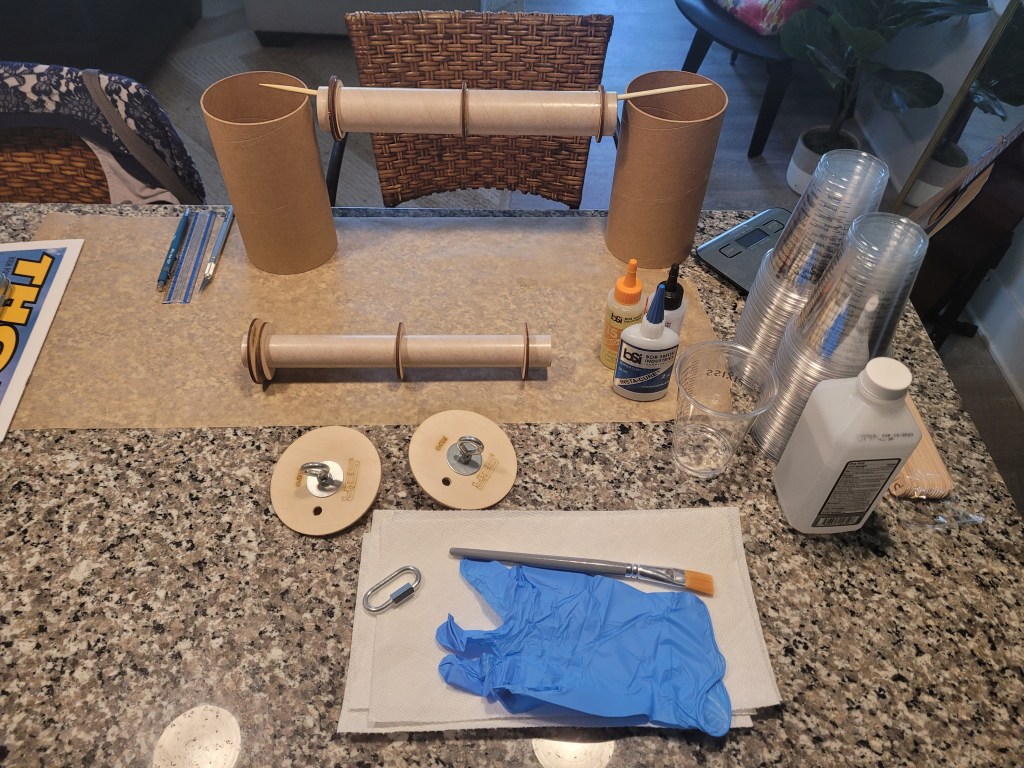
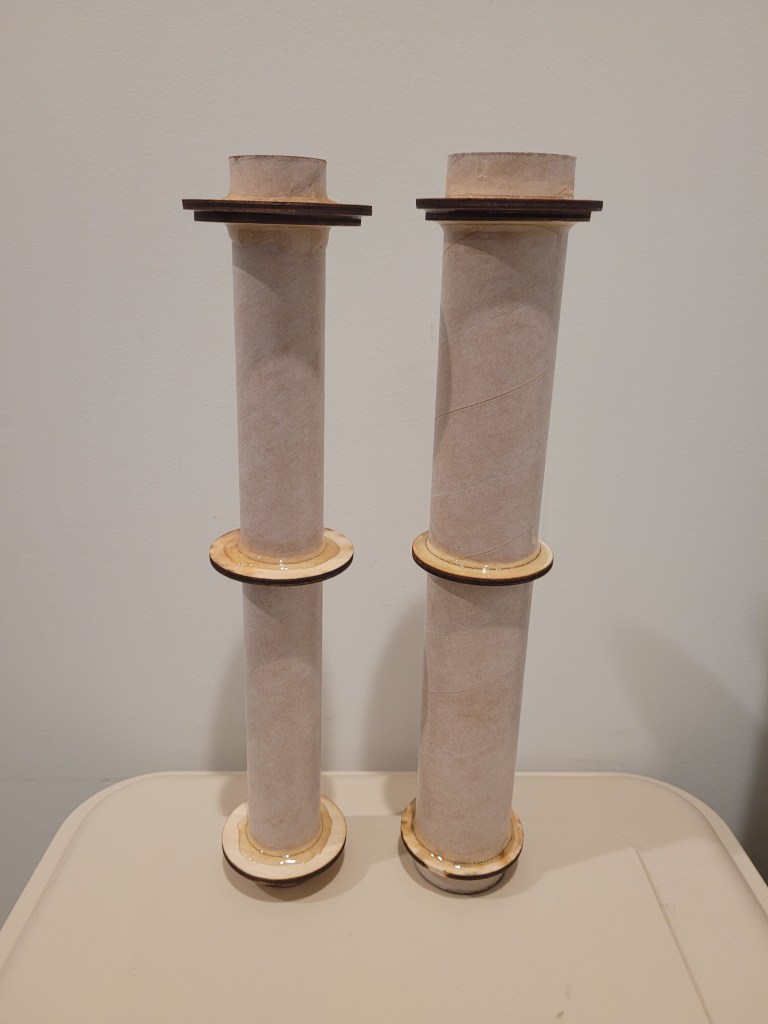
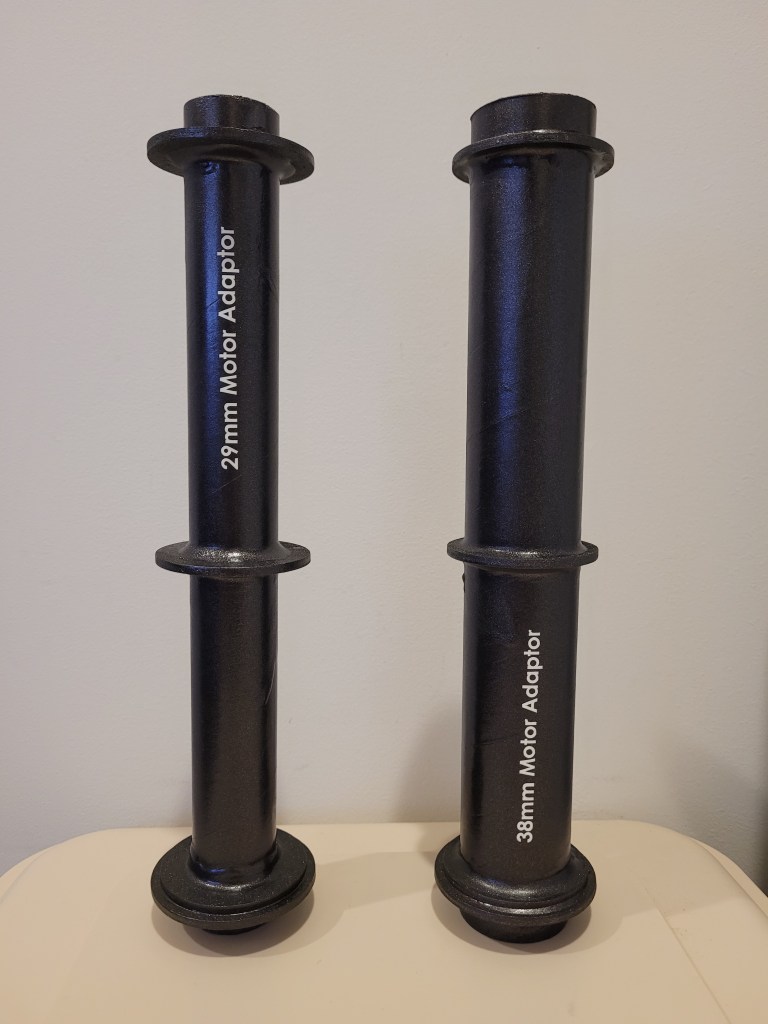
Next I assembled the 29mm and 38mm motor adaptors using 15-minute epoxy. After ample curing time, I finished them off with a quick coat of metallic spray paint. I also sealed/hardened both ends of the tubes with thin CA and added labels (thanks to the fiancée’s cricket – makes awesome permanent vinyl decals!).
Next up, assembling the bulkhead plates with eye bolts inside both coupler tubes. These will connect the 10″ payload assembly to the booster section and the nosecone to the forward 24″ payload section. I had to sand the bulkhead plates quite a bit to get them to fit, and then coated everything in 15-minute epoxy and CA glue to completely harden the inside of the couplers. This will help protect the inside of the airframe from dual deployment charges as well as increase the life span of the rocket, minus any catastrophic events…

To complete the booster section I epoxied the fin can, upper booster section, and motor mount in place using the supplied fuzzy coupler. Ensuring the assembly was properly aligned, I left the bottom motor mount plate off to retain access to the fin joints for adding epoxy fillets later.

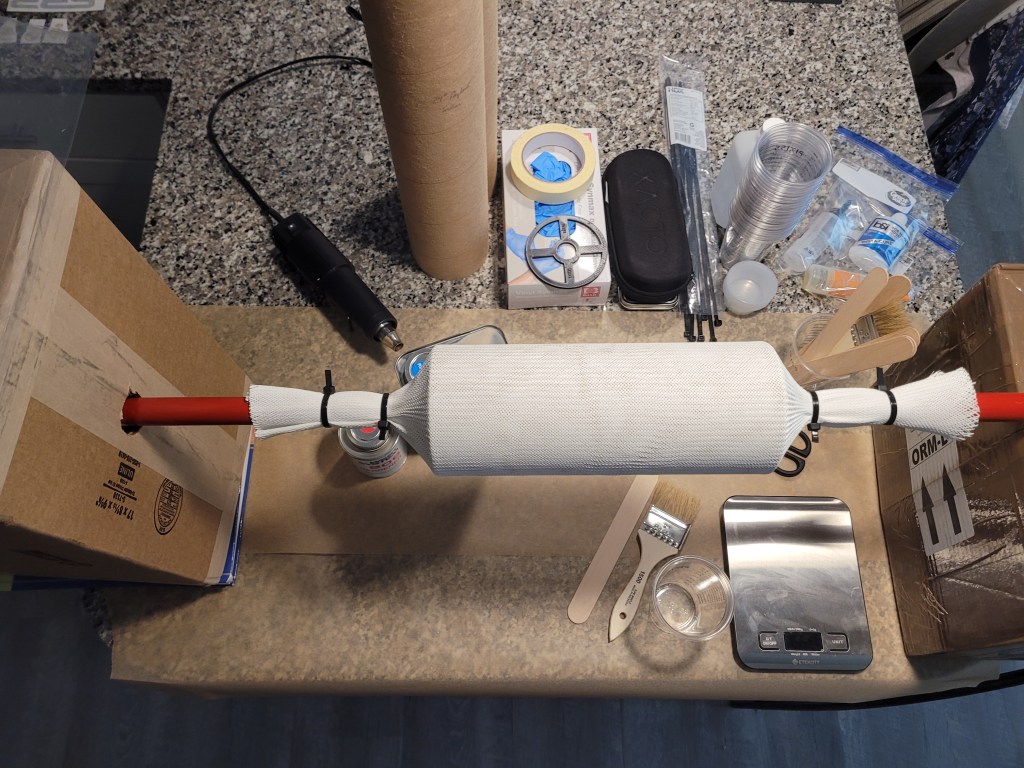
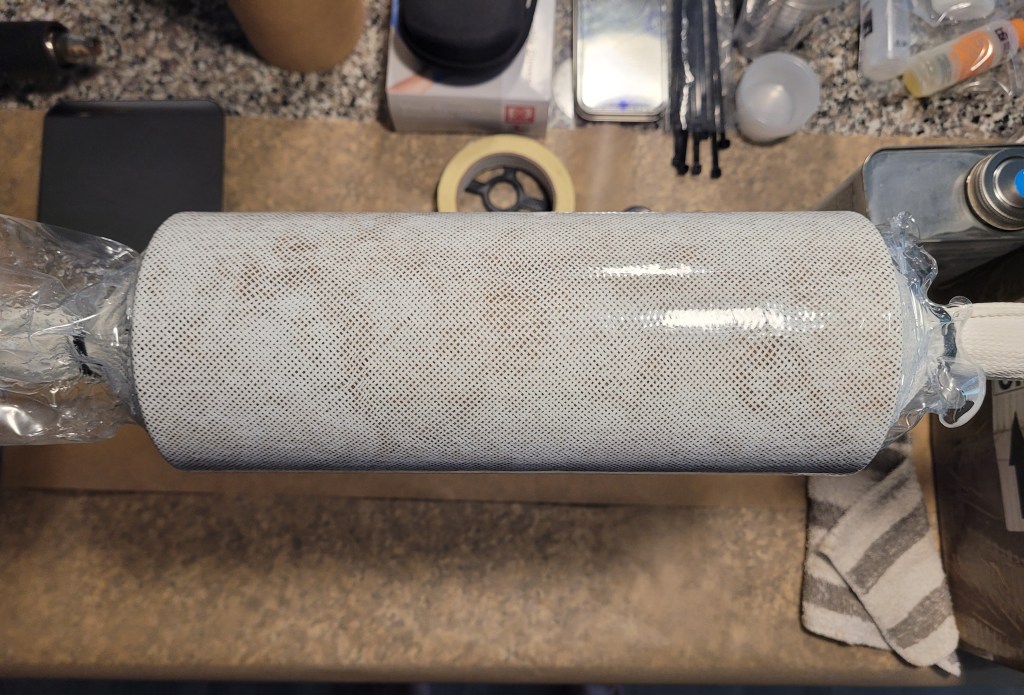
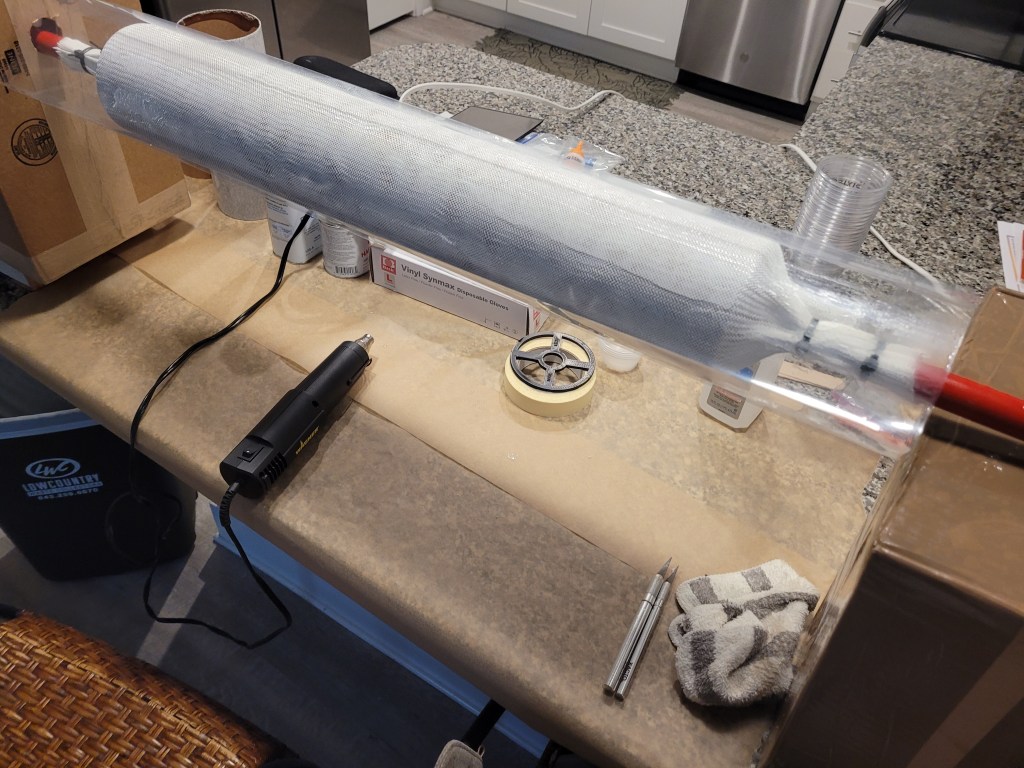
To strengthen the airframe and increase its durability, I applied a braided fiberglass biaxial sleeve to each of the three sections. I used a 5″ white colored sleeve and applied the sleeve using West Marine epoxy. After wetting out the fiberglass sleeve, I used heat shrink to ensure a good bond and smooth finish. I also 3D printed a few circular supports to fit inside the tube to keep it cylindrical and keep the axis of the rod going through the middle of the tube.
Final assembly of the airframe included trimming out the fin slots using an Xacto knife to remove the fiberglass sleeve overlay, epoxying the forward and aft fins in place, and adding the fin fillets. Using rulers and clamps to ensure the fin alignment was as straight as humanly possibly, I epoxied the fins in place. Then using 220 grit sand paper I sanded the entire booster to make it smooth.

For the electronics payload bay, I cut out the necessary access holes for the GoPro lens and altimeter rotary power switch. I also drilled four 5/32″ holes for the rivets to hold the main payload and electronics payload sections together during flight. I also 3D printed a safety pin to cover the altimeter power switch and attached a “Remove Before Flight” tag.
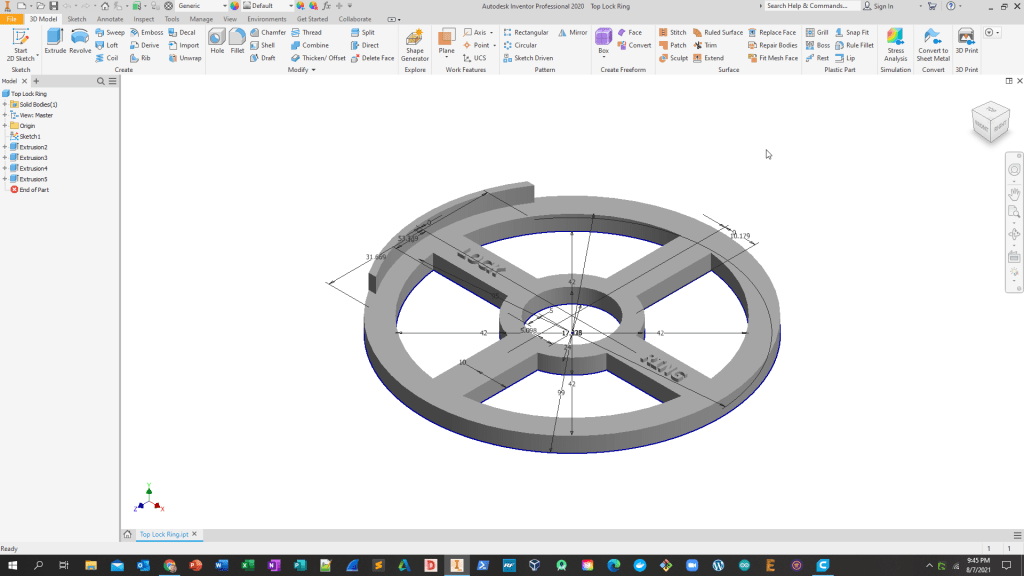
Finally I added primer, paint, decals, vent holes, and 3D printed an upper support ring to hold the electronics bay and GoPro lens in place in the electronics payload section.
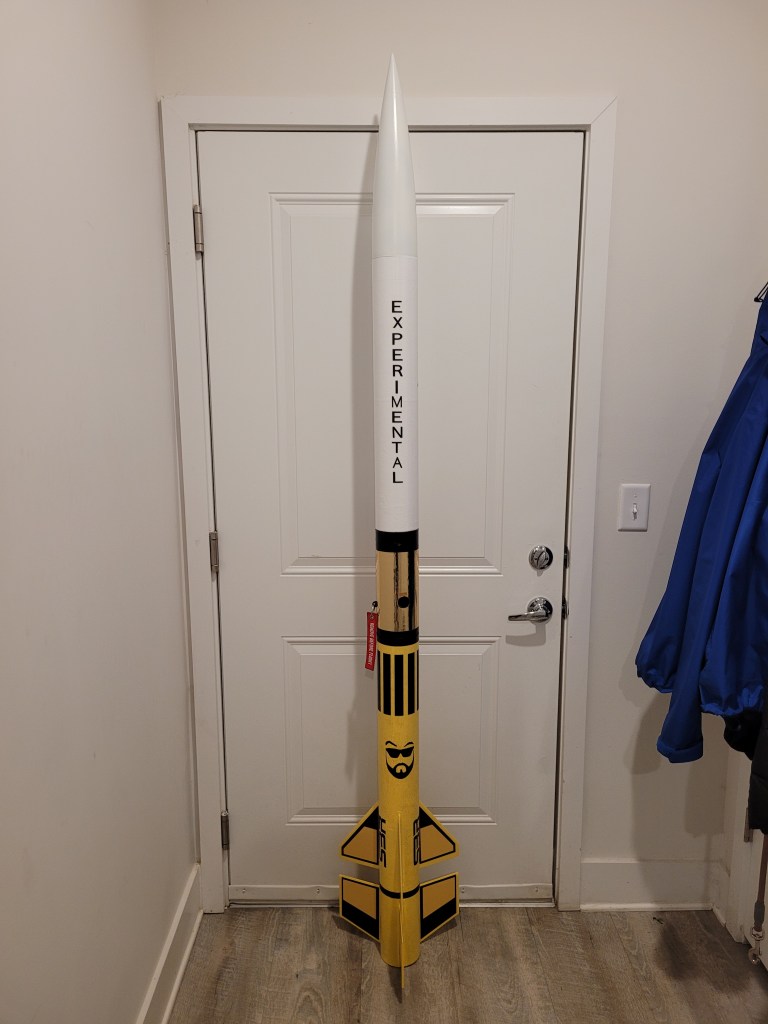
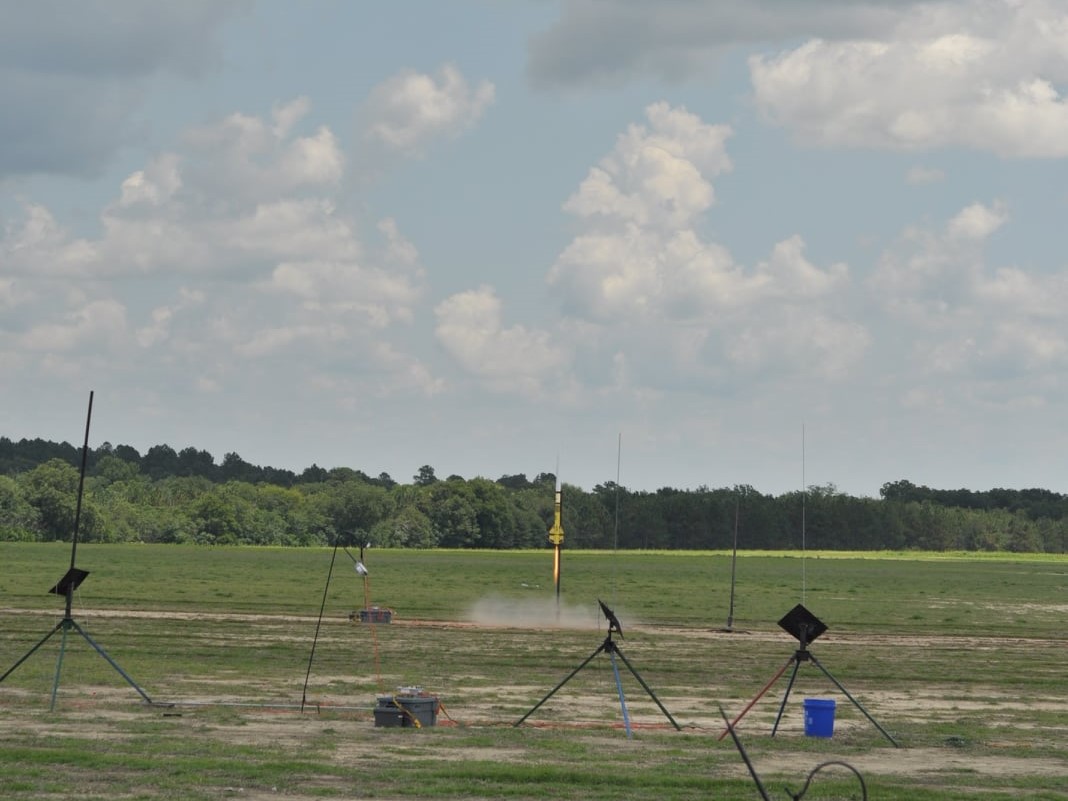
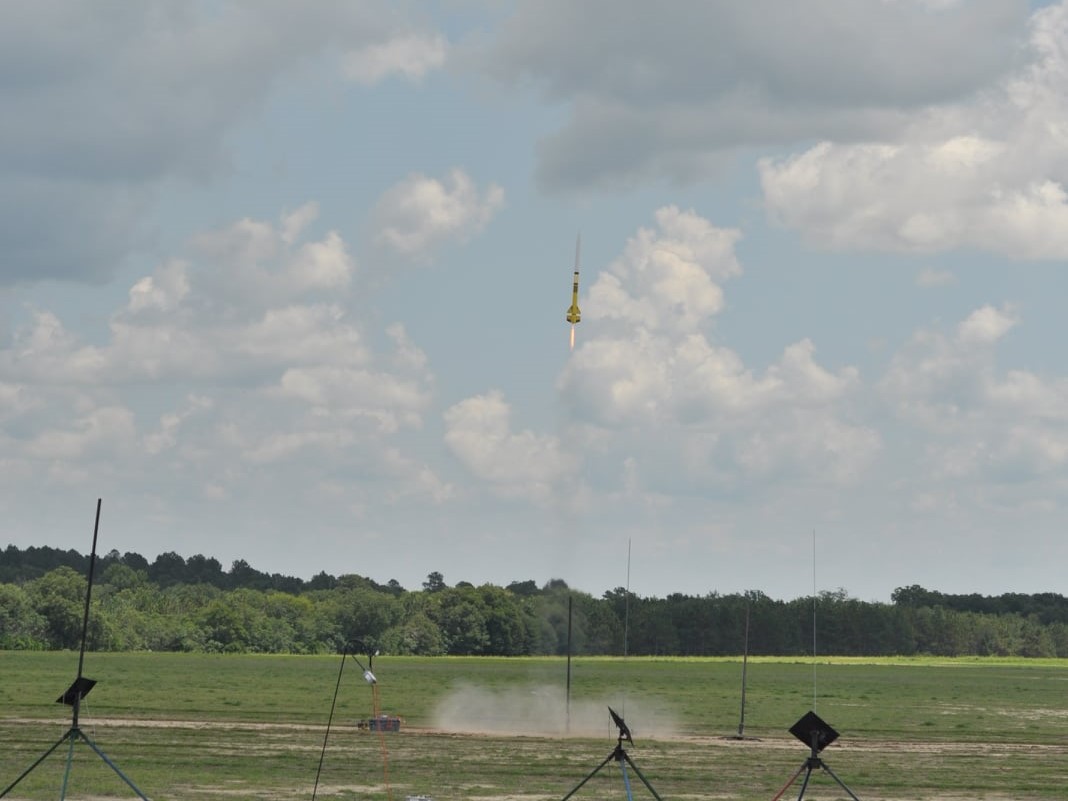
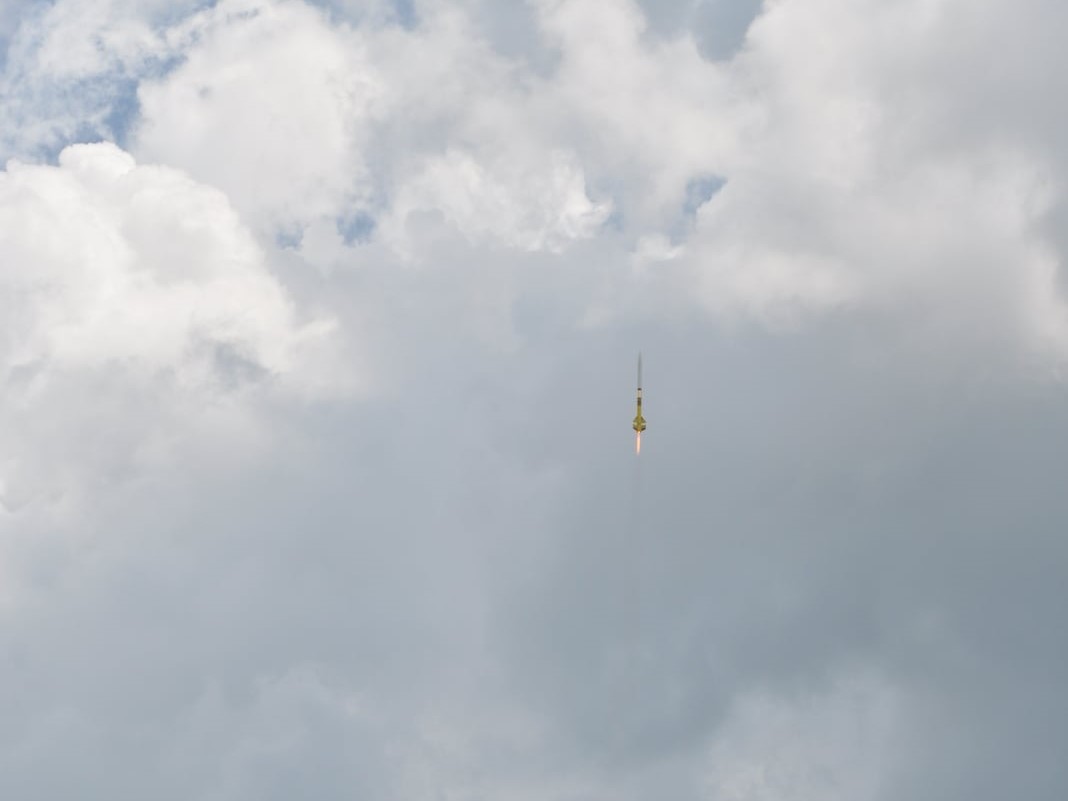
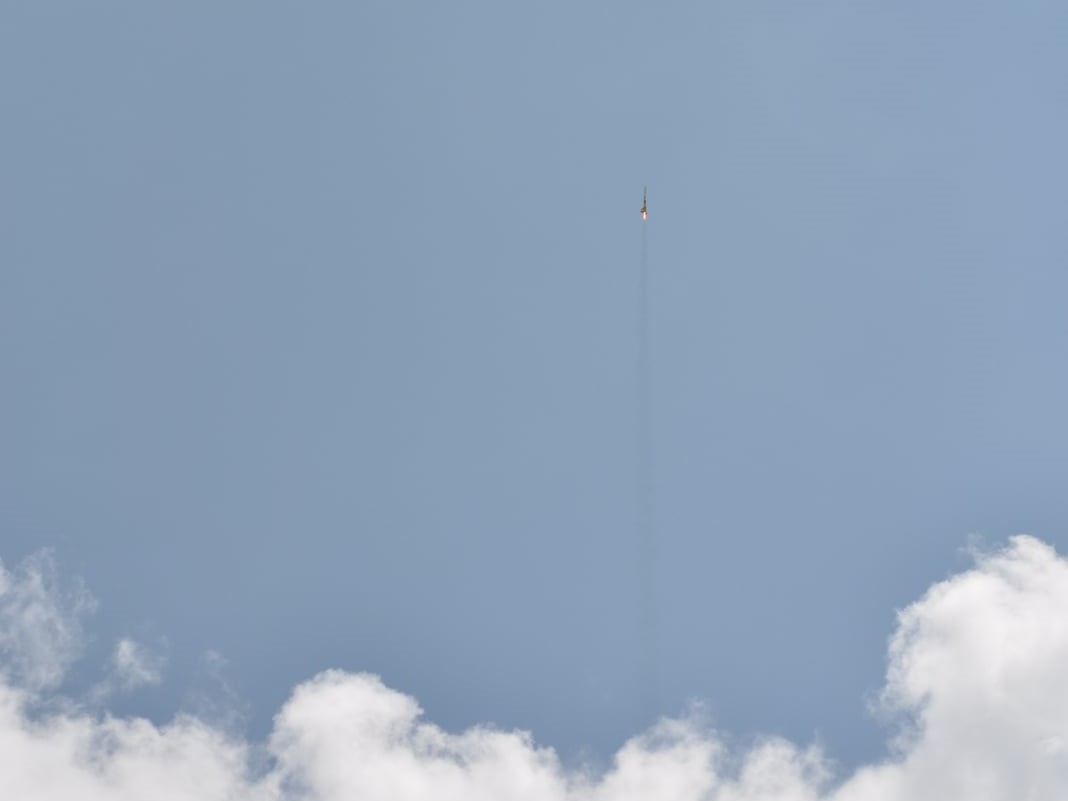
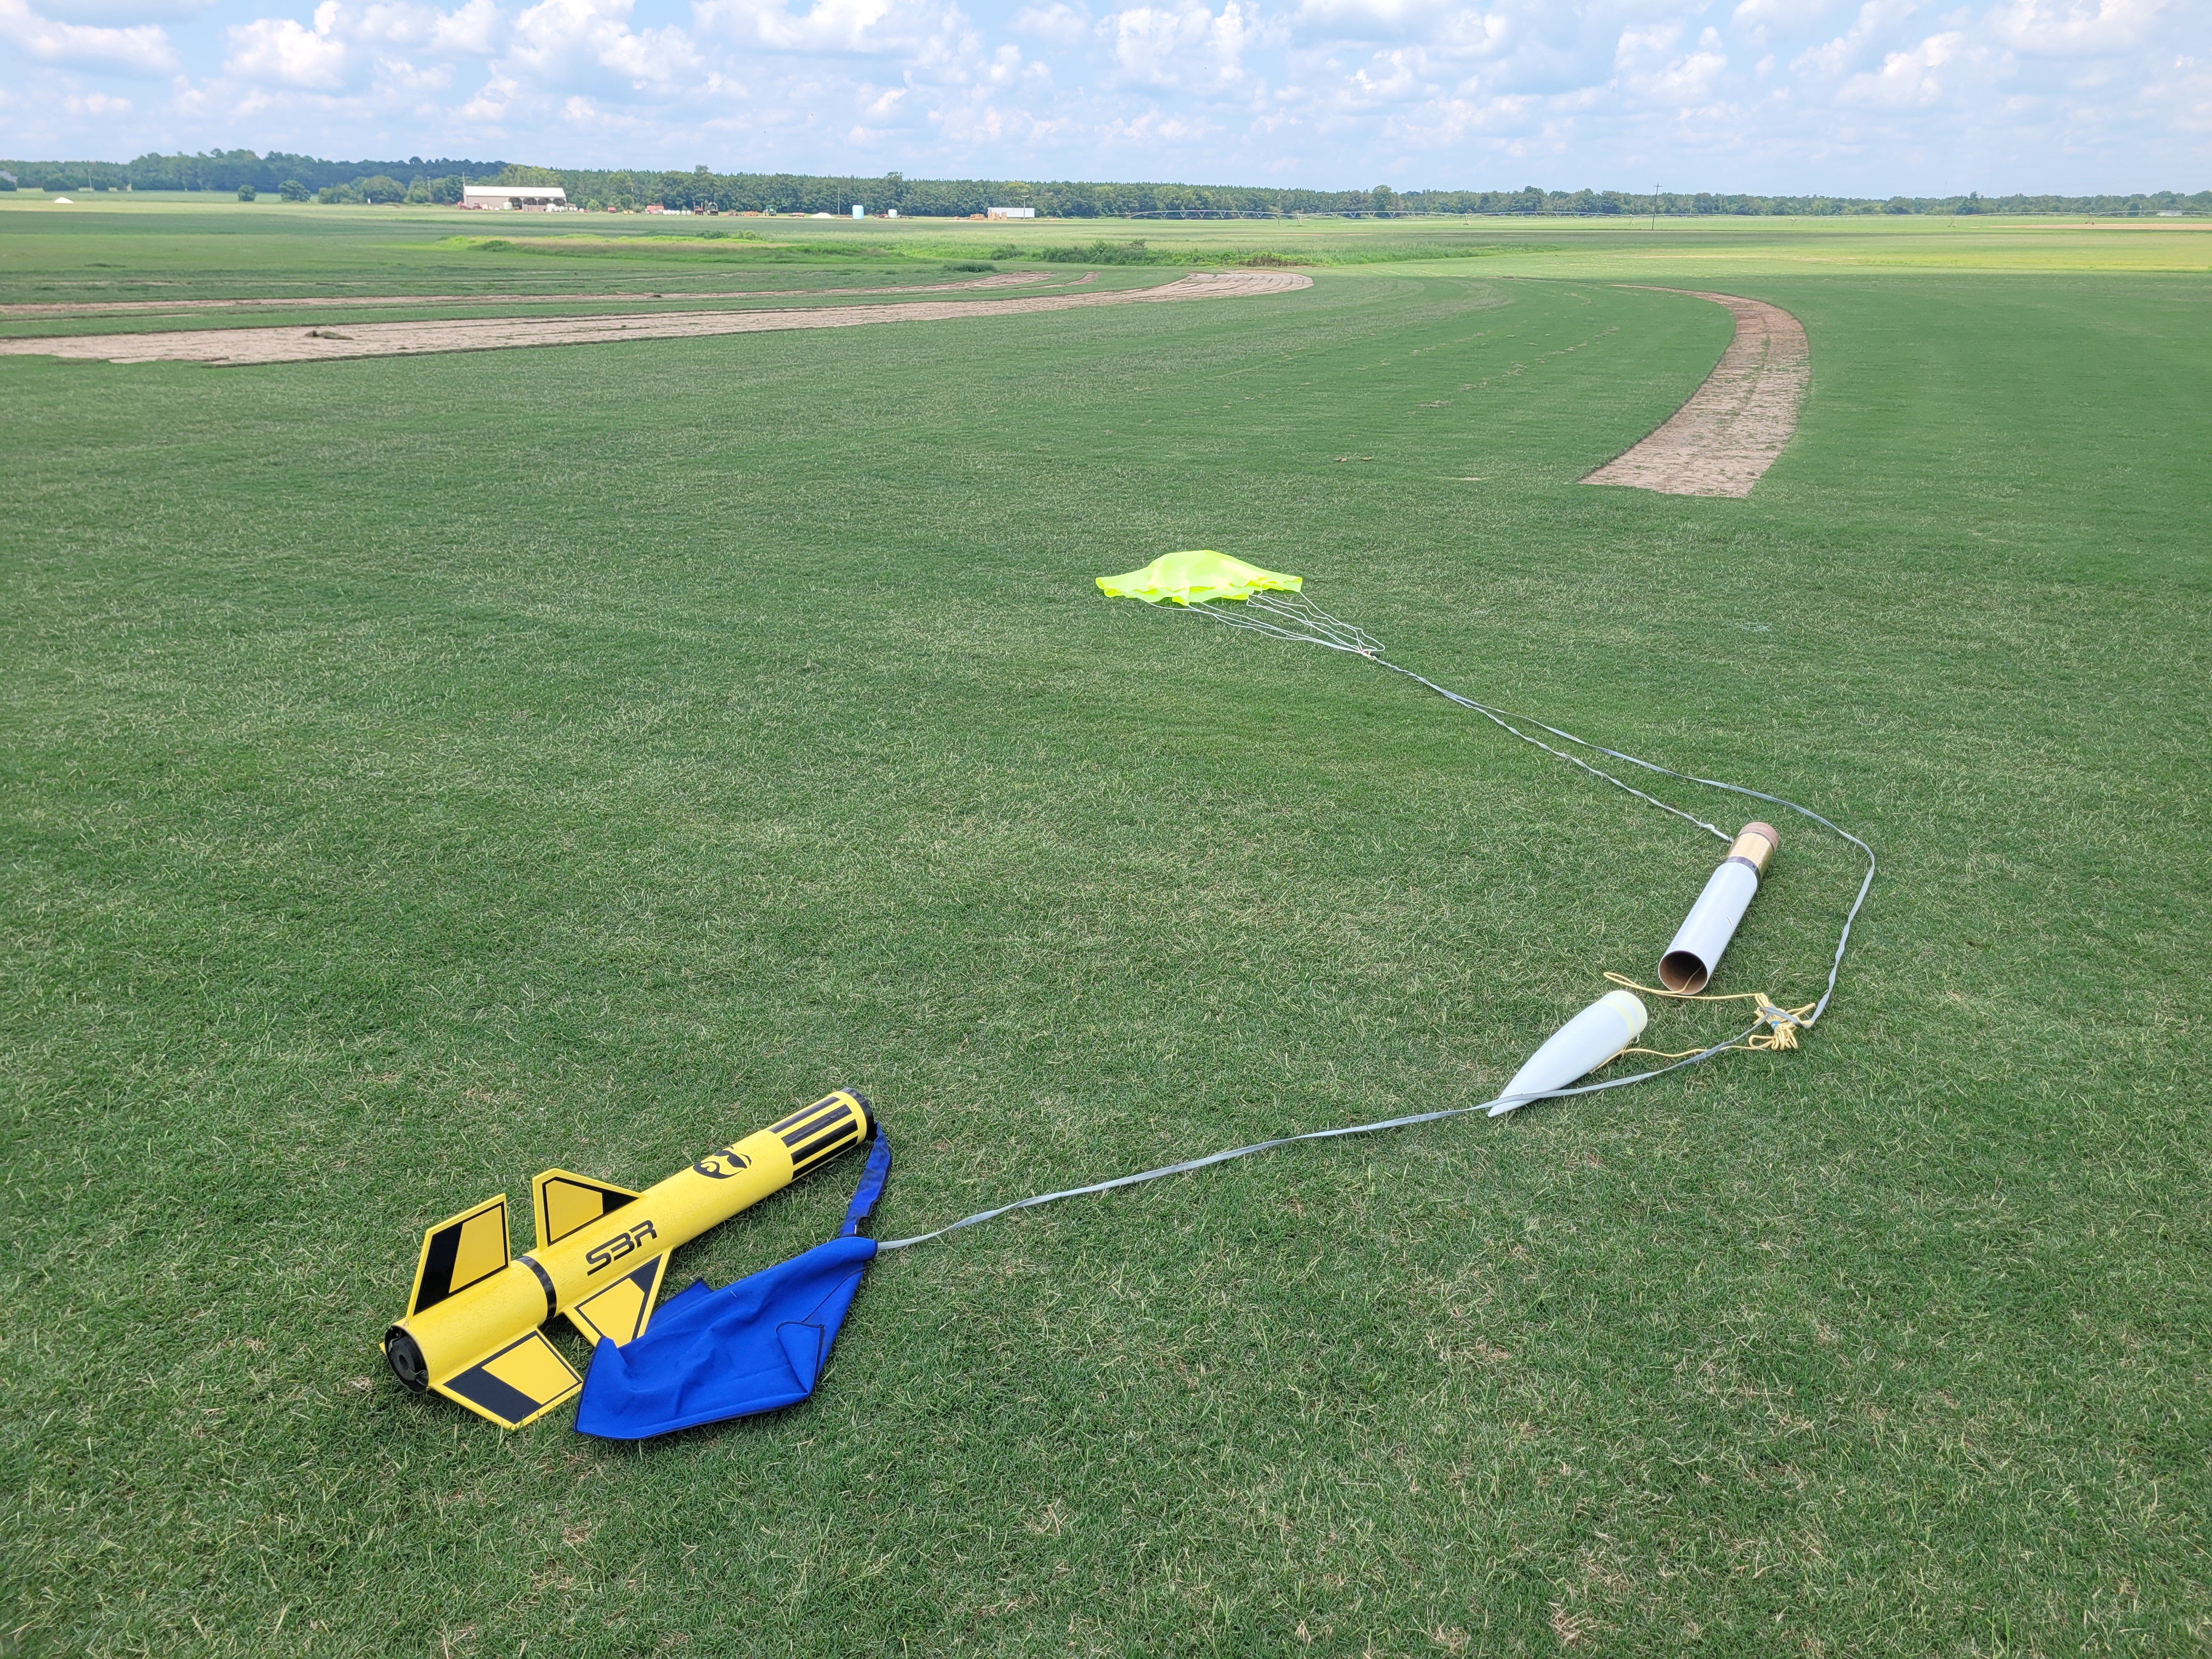
The SBR Thor build is now complete and I am ready to attempt my NAR Level II certification flight!
HERE is the link to the NAR Level II certification guidelines and exam study guide.
NAR Level II Certification Flight – Onboard Video – Rocketry South Carolina August 8th, 2021
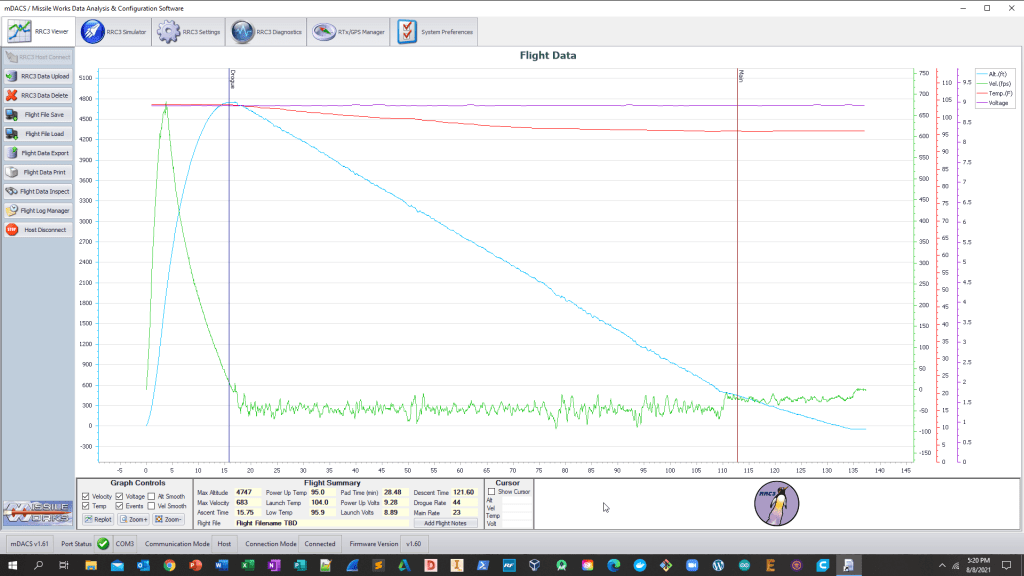
Missile Works RRC3 Altimeter Flight Data

Great post here, Copeland. As you know, I am also building this kit and you’ve been really helpful in sharing your experience and related construction tips. I haven’t tried this glassing technique before and your guidance has been very reassuring. I also really, really appreciate that you made me a set of your custom 3D printed parts – to help secure the CAM1, provide support for the airframe during glassing and cap the on/off rotary. Awesome parts; well designed, high quality fab. Keep up the great work, looking forward to seeing your next project. Best – RyanG
LikeLiked by 1 person
Does anyone know where or from whom one may source this [Thor 4”] kit?
LikeLike